The amazing iPhone camera…we keep unlocking your secrets. We have shared previously on iPhone photography using portrait mode outdoors and using your iPhone for product photography. Today we are sharing some more tips and tricks for iPhone photography and some tips that apply to photography in general. Read on to learn how to harness the tool in your own hand and take even better pictures.
Lighting is Everything
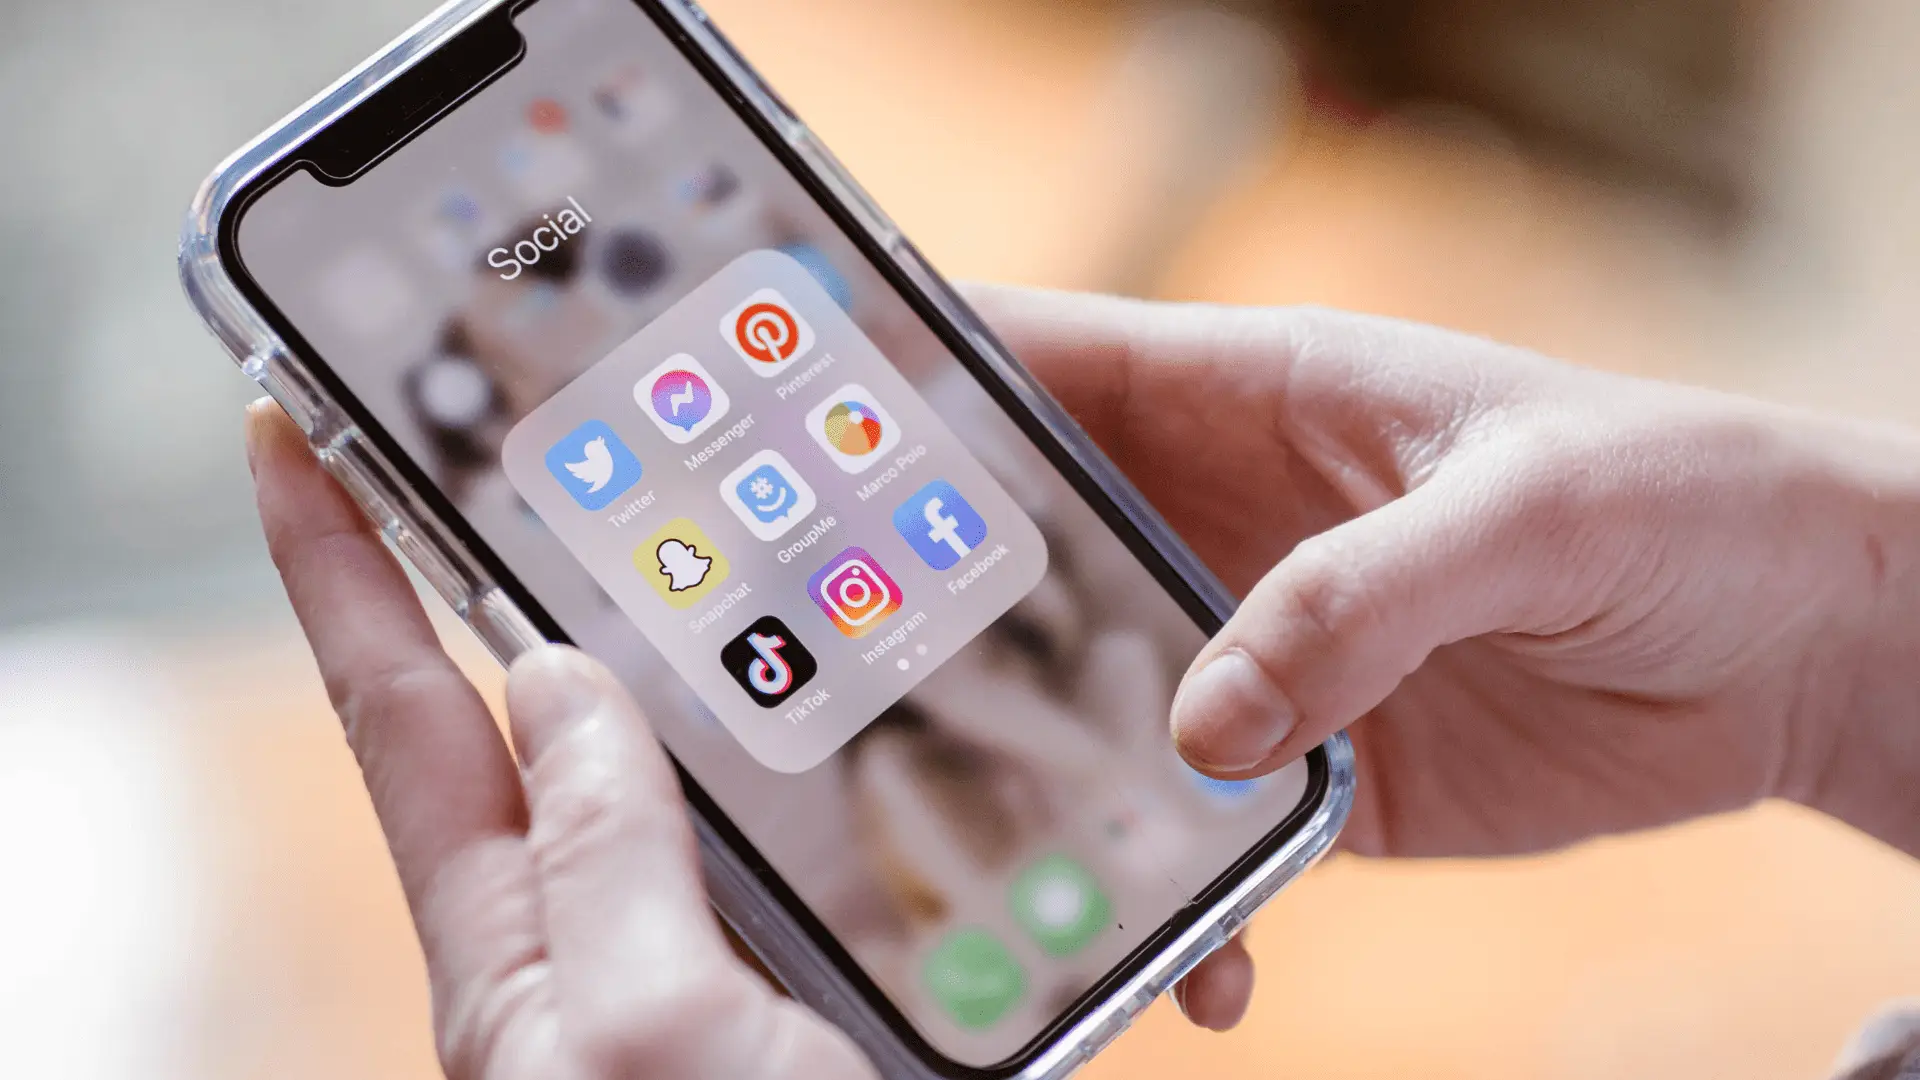
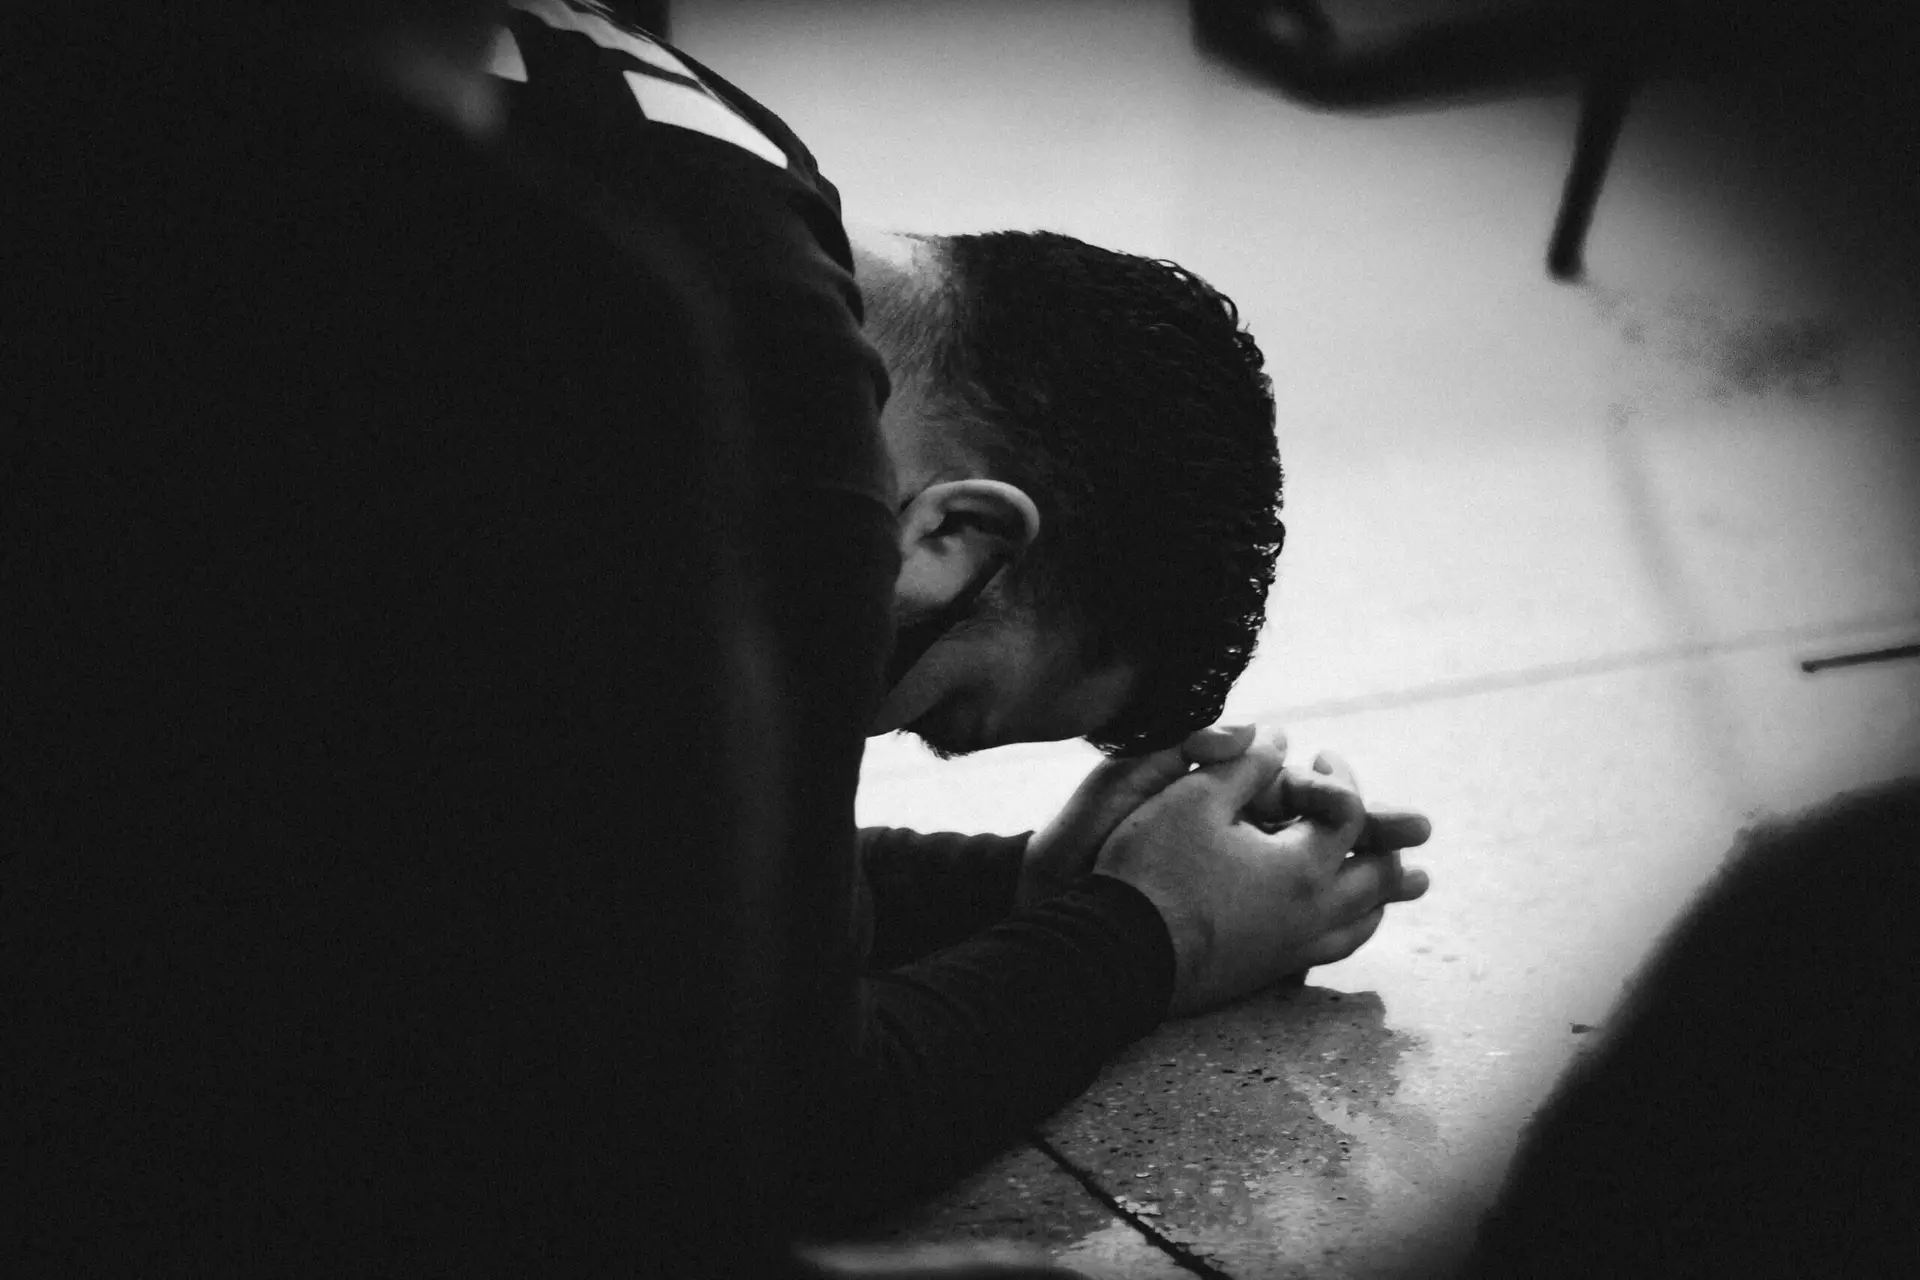
I personally hate the flash on my phone. I turn it off and never turn it on. If I am in a situation where flash is needed then I adjust my subject to make the existing light the best it can be. If it is daytime, I find a window and open it or place my subject closer to it. Even open an outside door completely. At dusk or dark, I turn on other lamps and light sources. I don’t zoom using my phone- it only creates more grain. Instead, I move closer to my subject and I rarely use portrait mode (even though I love it usually) Portrait mode requires that you stand or be a certain distance from your subject and often under poor lighting conditions this just does not make the best photo. (see example photo below) So first, take advantage of the soft lighting of windows or open doors. Overhead lighting indoors is often enough but sometimes is harsh creating dark shadows under eyes. Never photograph your subject with the open window or door, or bright light behind them unless you want a silhouette. (Think of sunset pictures on the beach-faces are usually dark) The camera reads the light behind the subject and sets itself accordingly. If you want a good sunset picture or with the light behind them, force your flash to come on. This is called “fill flash.”

If you are trying to get a professional style headshot yourself with your iPhone indoors, one thing that I have found helps a lot is a reflector. My personal is a 5-in-1 reflector (around 30+ inches in diameter). It has 5 different sides to reflect different colors of light on my subject and also an amazing diffuser to soften harsh light. Not something I carry around for just everyday shots but it has come in handy. We recently took new headshots in our downtown office. We opened the front door so the natural light hit one side of our face then used the gold side of the reflector to bounce light back on the other side and warm up our skin tones a bit. For a quick 3-minute photoshoot for all 6 of our employees, I think they turned out well!

You Can Adjust Your Exposure
Your phone meters (or measures) the light itself through the spot you touch to focus on. This spot can sometimes benefit from slight adjustments. Once you have framed your subject in your phone’s camera, tap on the part you want to be sharpest. A yellow box pops up and that is what part of your photo will be in sharpest focus. If this looks too dark or too bright, you can drag the little dot next to it that looks kind of like a sun either up to brighten or down to darken. Look at the example below. Note that this feature resets after each photo is taken.

Consider Your Point of View
Back in my film printing days, I saw a lot of the same mistakes over and over. Cute kids playing on the floor (taken from a standing adult’s point of view) Their faces are looking up at best or else you see the tops of their heads. Imagine this photo re-framed and taken from lower on the floor-eye level with the kids. All of a sudden the photo is no longer an image of what they are doing but the feeling of doing it with them because you are eye level with them. Your point of view (the way you see the world) is critical to sending the message you want. This is why food photography is usually shot OVER the entire plate. You can see the entire meal in one glance and the beauty of it. An angled shot does not give you the full view. If someone is sitting in a chair, lower your phone to be on eye level with them and take the photo instead of down on them from your standing point of view. I am 5 foot 1” tall on a good day. Years ago when I photographed weddings, I would bring along a small ladder so when the large group photo that was staged on the steps of the church was taken, I was more on eye level with the bride and groom rather than shooting up their noses from my low vantage point.
Get Closer
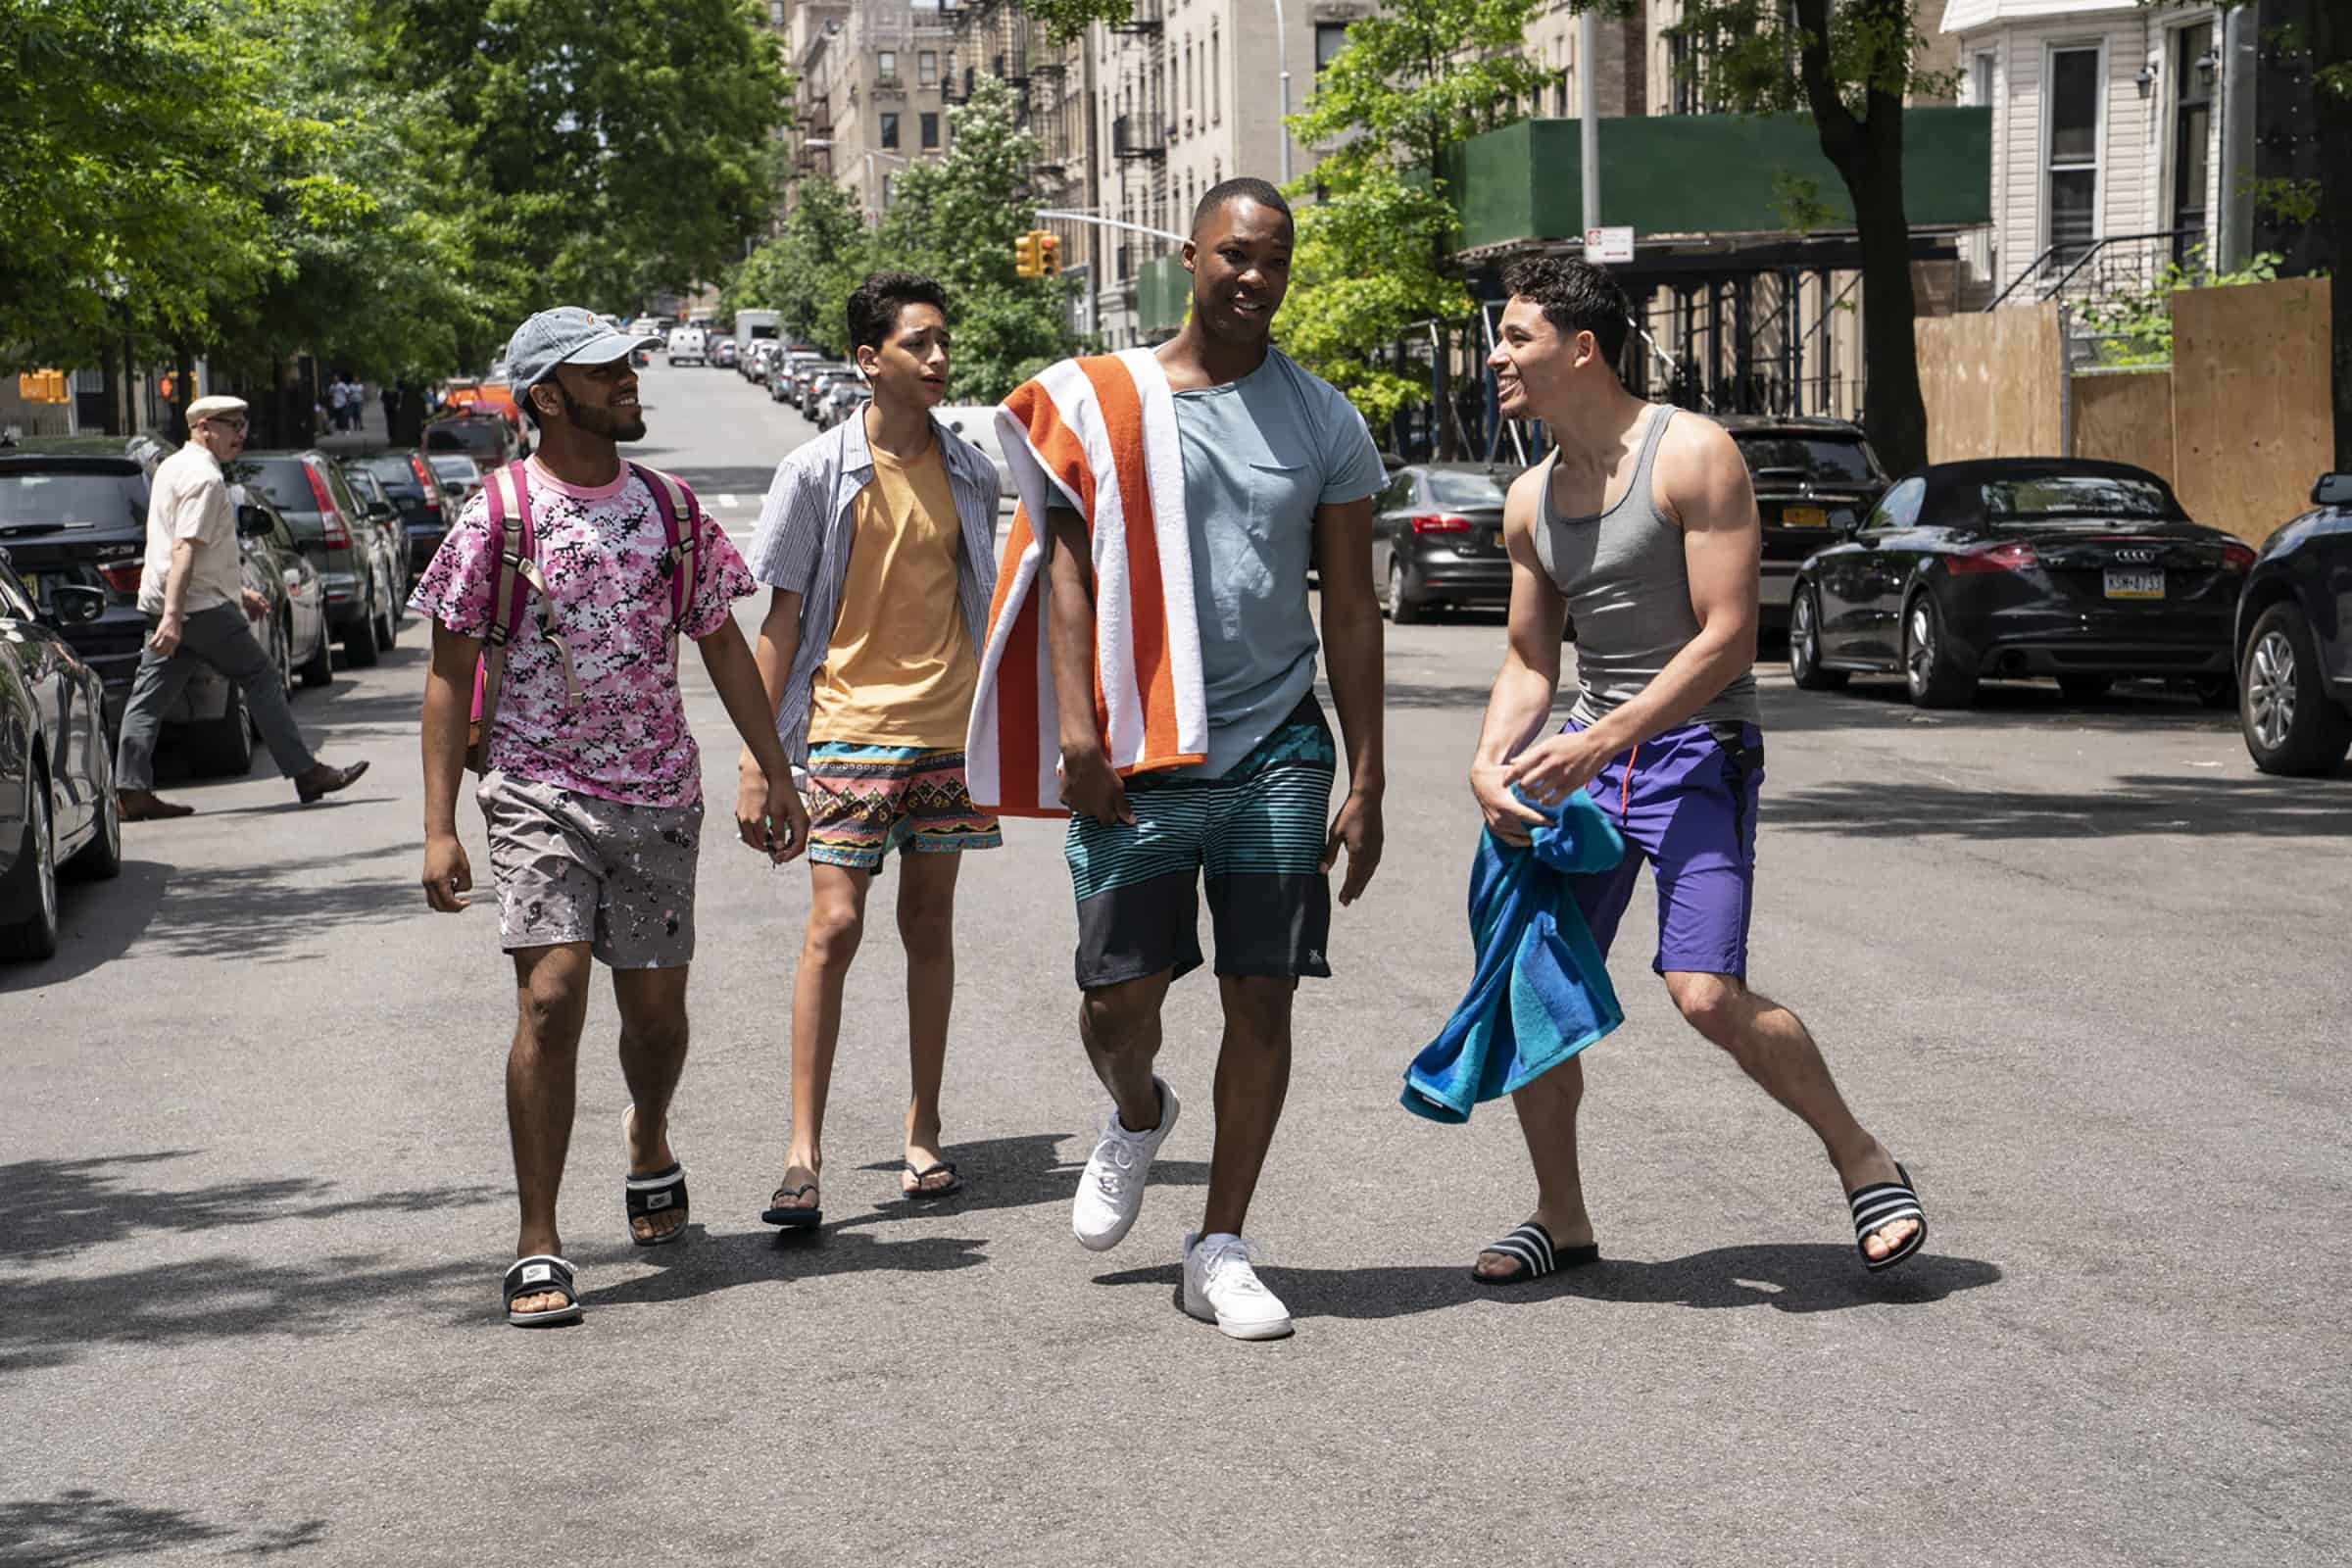
Another mistake I often saw when developing photographs was that the pictures were taken too broadly. Get closer to your subject. It is one thing if you are taking a mountain or seascape image, but if you are taking pictures of people, usually you want to be able to see the people! I know you think you can just zoom and crop to get closer to your subjects and yes you can, but this degrades your image. The zoom on an iPhone is what we call a digital zoom and it merely lessens the number of pixels in your photograph which ultimately means less clarity. When photographing events, a wide photo that shows the span of the event with all of the people there is good to have, but don’t forget to get the smaller tight shots of the people and what they are doing. The details of the day are what make it interesting.
These are just a few more tips and tricks for iPhone photography that you can add to your tool belt. Don’t be overwhelmed! Just practice! Take one tip and try to implement it. One of the beauties of digital photography is the freedom it gives to practice!